


So Valentines holiday decor is coming up
and much of the time, I find the decor a little tacky.
So I decided I was going to attempt to make my own Valentines decoration.
A couple of months ago I remember passing an image on
Pinterest (of course) and it was these branches put together to make a heart.
Pinterest (of course) and it was these branches put together to make a heart.
It was simple and cute.
But dumb me didn't pin the picture
so I decided I would have to recreate it from memory
(which isn't the most dependable).
(which isn't the most dependable).
Also my craft skills, not that dependable either...
Like most of my projects, I set out to make it look like
the perfect Pinterest image,
the perfect Pinterest image,
but in the end looks like a broken, jumbled, pile of trash.
I secretly think they edit it real good, to make it look perfect.
BUT
I attempted anyways.... I mean sure it looks a little home made, but that is the best right? ;)
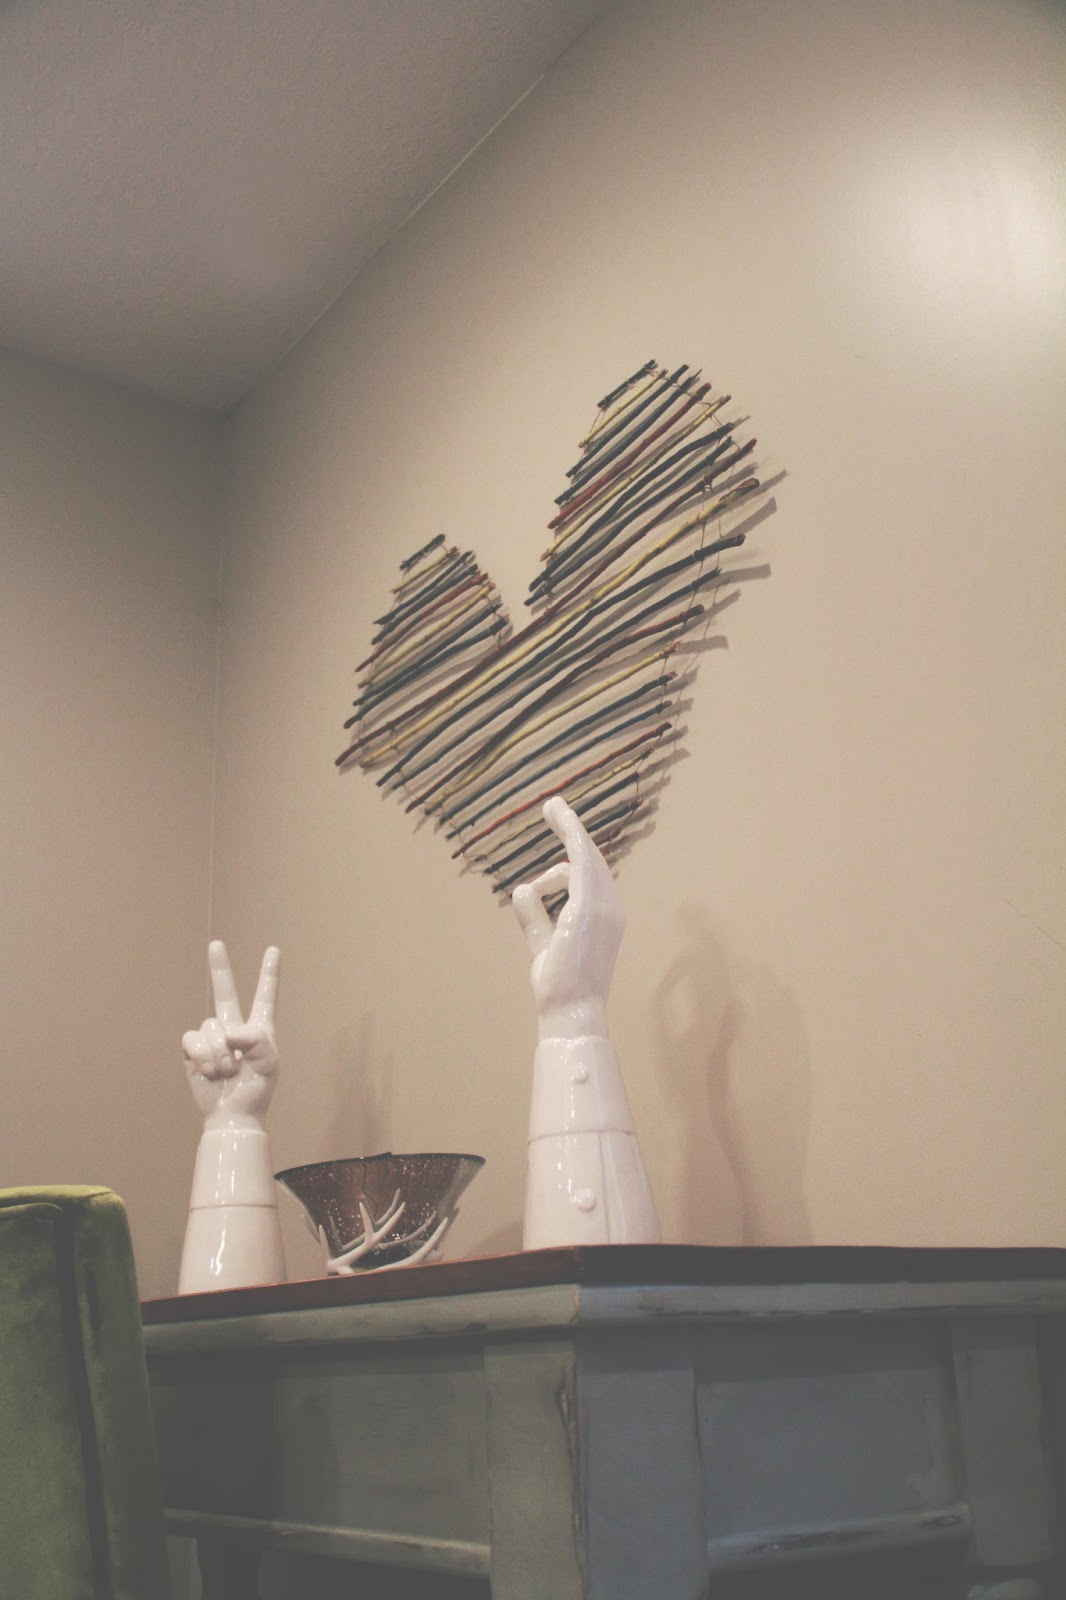
So.... Here is my DIY on how to make a Branched Heart

The best part of this fun project...it was cheap!
These are the objects you will need, to make your creation

Glue Gun
Scissors: That is kinda sad if you don't own any
Hemp Cord: Can find at Joann's Craft Store on sale for $4.49
Spray Paint: you can find a can for $1 at Walmart
Branches: Go pluck some off a tree, its best if they are a bit thicker


So once I had the branches, all I did was break them into the sizes I wanted.
You can decide how big you want it to be.
I started with the bottom of the heart and worked myself up, I felt it was the easiest way.
Line them all up, so it looks they way you want.

The next step is to spray paint the sticks.
You can do any colors your want, it looks good with whatever.
The spray paint I used didn't cover the branch entirely, and so it still gave it an earthy color, which I loved. I let the sticks dry for about 3 hours, I probably could have used them sooner, but I just wanted to be careful.

These last steps were the hardest, because I had to make sure I didn't get frustrated. Take the hemp and tie a knot around the branches. I would do one knot on the left side of the single branch, then one on the right, so I would get an equal distance from one branch to the next. I started from the bottom and worked to the top.


At first I was just tying them, but then they started to get loose, so to ensure they wouldn't come apart, I glue gunned on top of the knot.
The Image on the left shows them tied together, and with the glue stuck on top of the knot. My best advice is make sure you start with one branch, tie both the left and rights side first, then start on the branch on top. That way it will reduce your chances of lopsidedness.
Just continue working your way up, it's a bit tedious but its worth it.
Once the branches are all tied up, with the long strands that you have from the start, just cut them short, and glue them to the knot.
And There You Go!
You're Done
and now you have a Branched Heart! :)
and now you have a Branched Heart! :)


---Hailey Cheyanne
P.S. I need your help on a future blog post, email me or comment
what is the hottest thing a guy can wear?
I promise you if you do, I wont disappoint you.
Also vote on the poll on the left!
Also vote on the poll on the left!
CUTE!
ReplyDelete